Create a CI/CD pipeline
In this lab you will create a continous integration and delivery pipeline to build and deploy your application. The build pipeline will package your source code into a container image hosted on IBM Container Registry. The deploy step will deploy that image into the Kubernetes cluster that you created in the previous lab.
Setup a IBM Container Registry namespace
Container registries are central place in which teams can manage and store their container images. Through access control, the registry makes sure that only allowed parties have access to your container images. Furthermore, the IBM Container Registry provides out-of-box capabilities to scan images for vulnerabilities
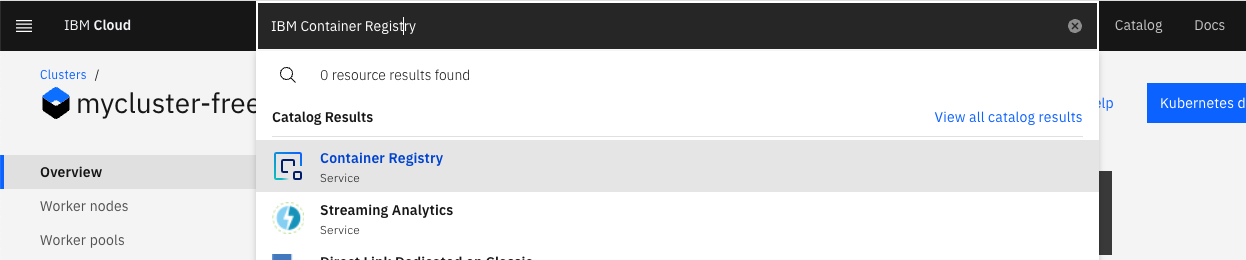
- In the top navigation bar search for “IBM Container Registry” and click on the search result “Container Registry”
- On the next page click the
Get startedbutton to enter the Container Registry offering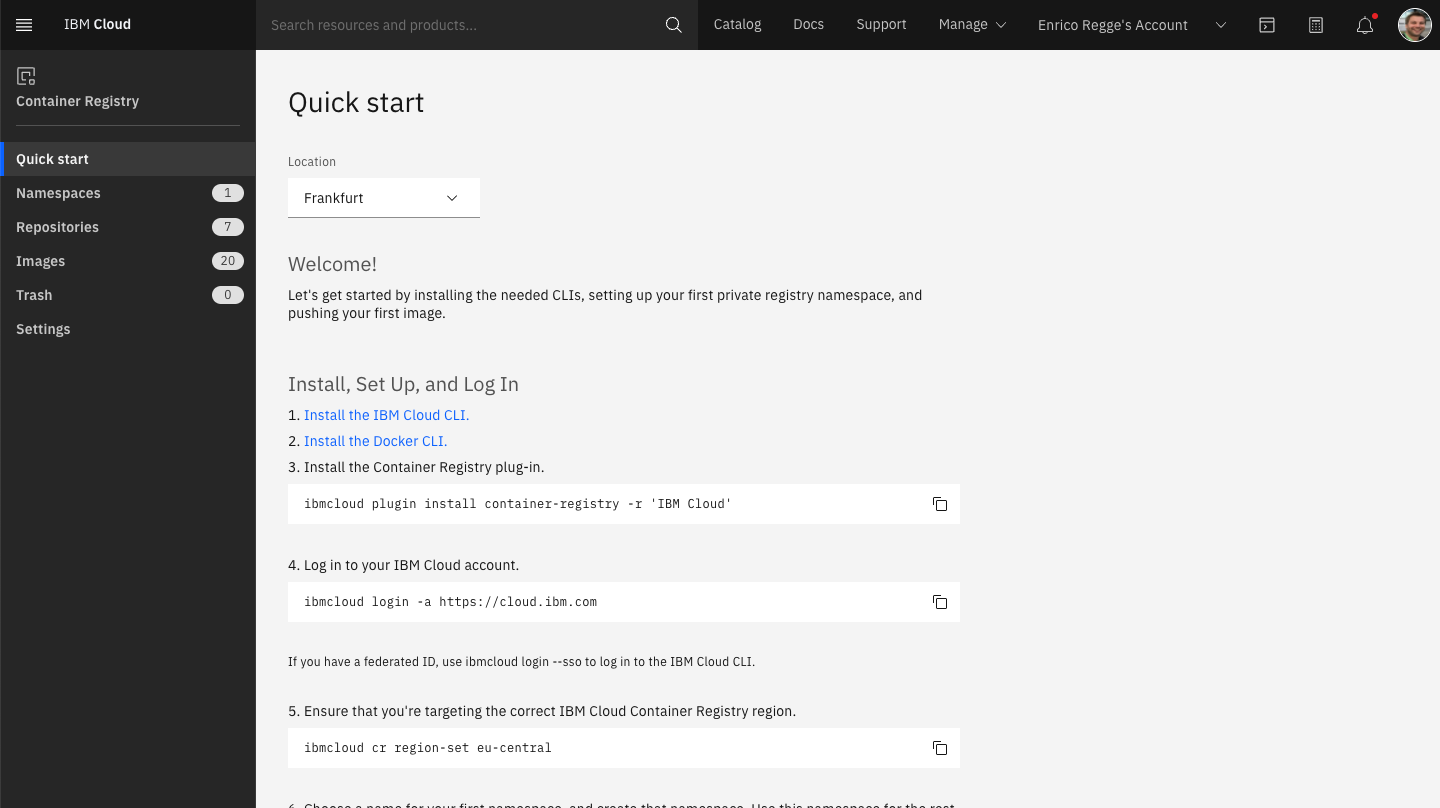
- Navigate to the “Namespaces” and select the location “Frankfurt”
- Create a new namespace by clicking the “Create” button, chose an appropriate name for your chat application and save it
Create a CI/CD pipeline
-
Create a new CI/CD service instance
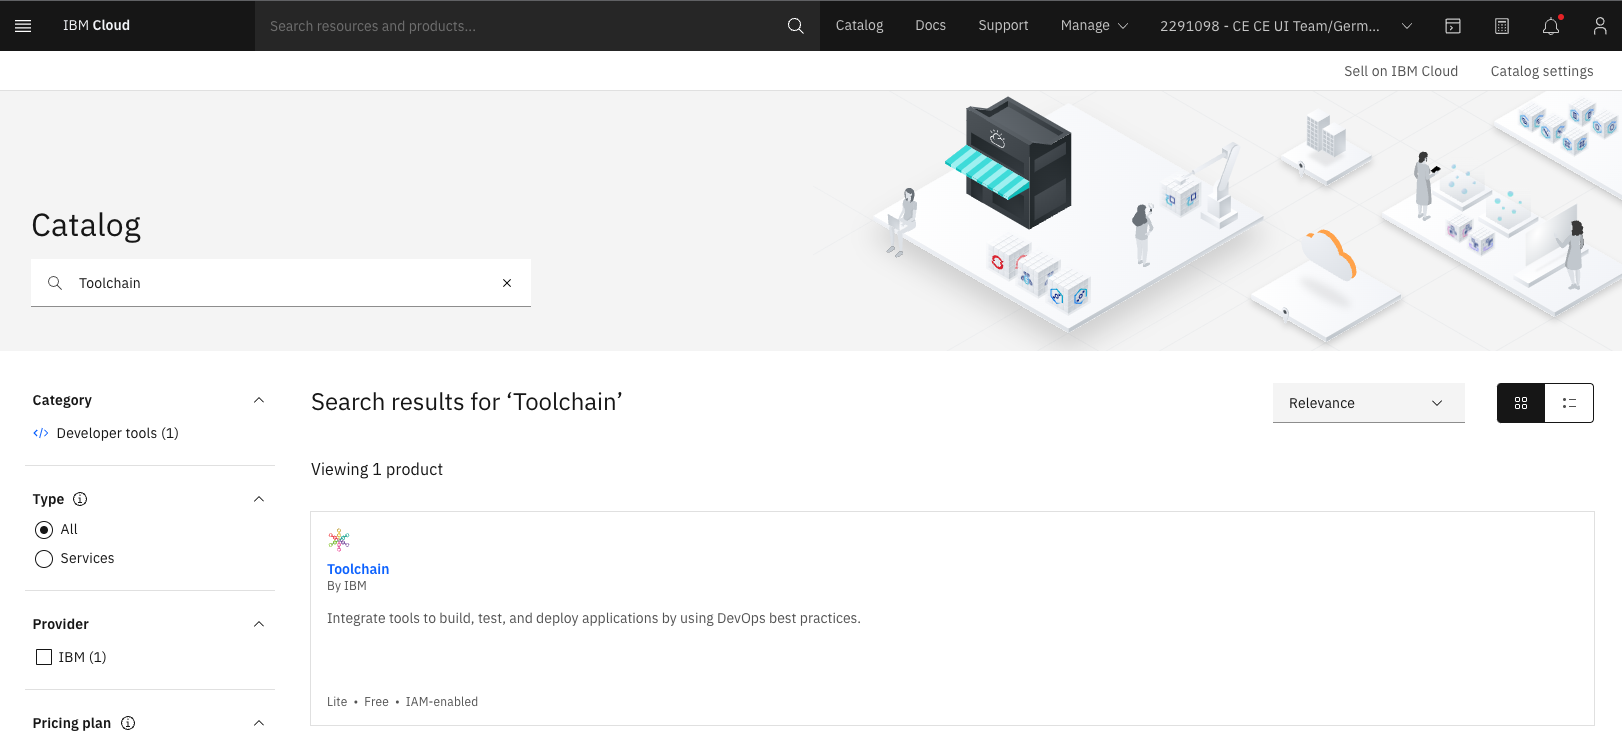
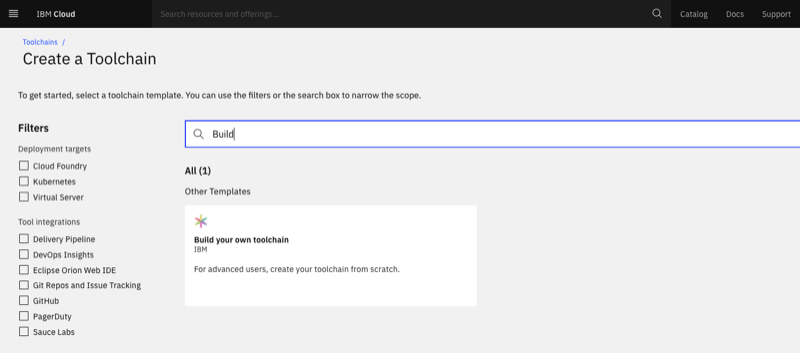
Go to the IBM Cloud products catalog and search for Toolchain, click on the Toolchain tile.
You may get an error message if you happen to have an existing CD/CD service because the lite plan is limited to a single instance of this service per user. In that case, just select the existing service and proceed to the next step. Alternatively, you can delete the existing service and create a new one.
-
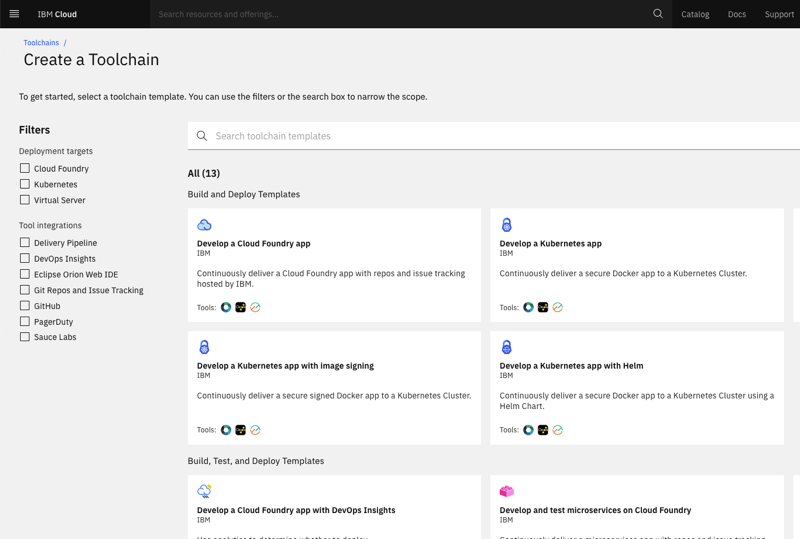
Create a new toolchain:
-
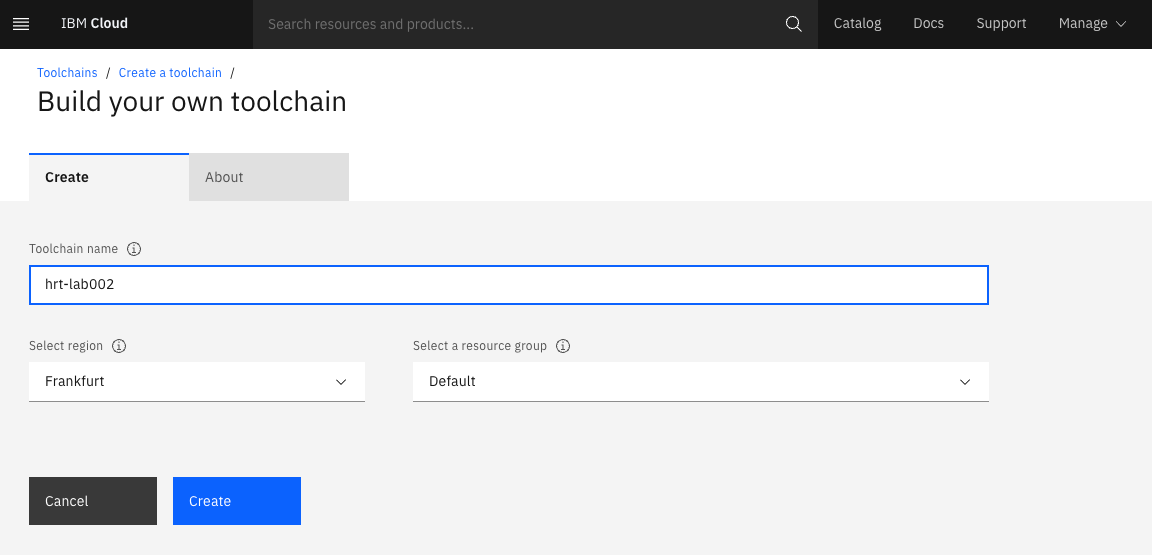
Select “Build your own toolchain”:
-
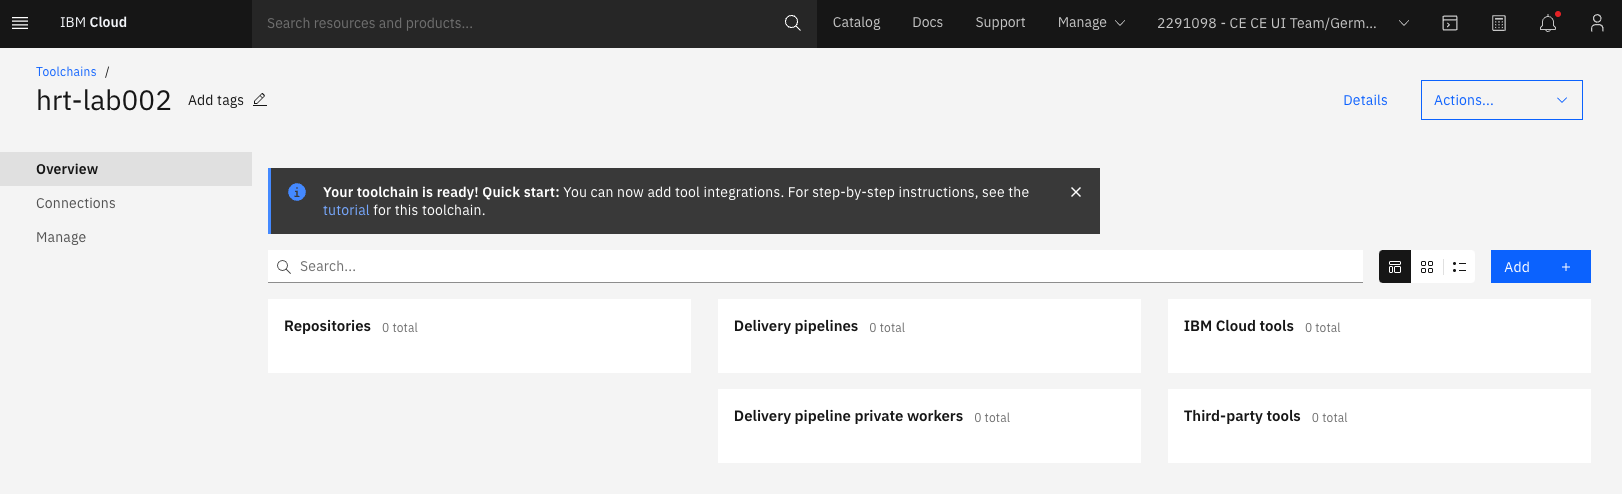
Provide a name for the new toolchain:
-
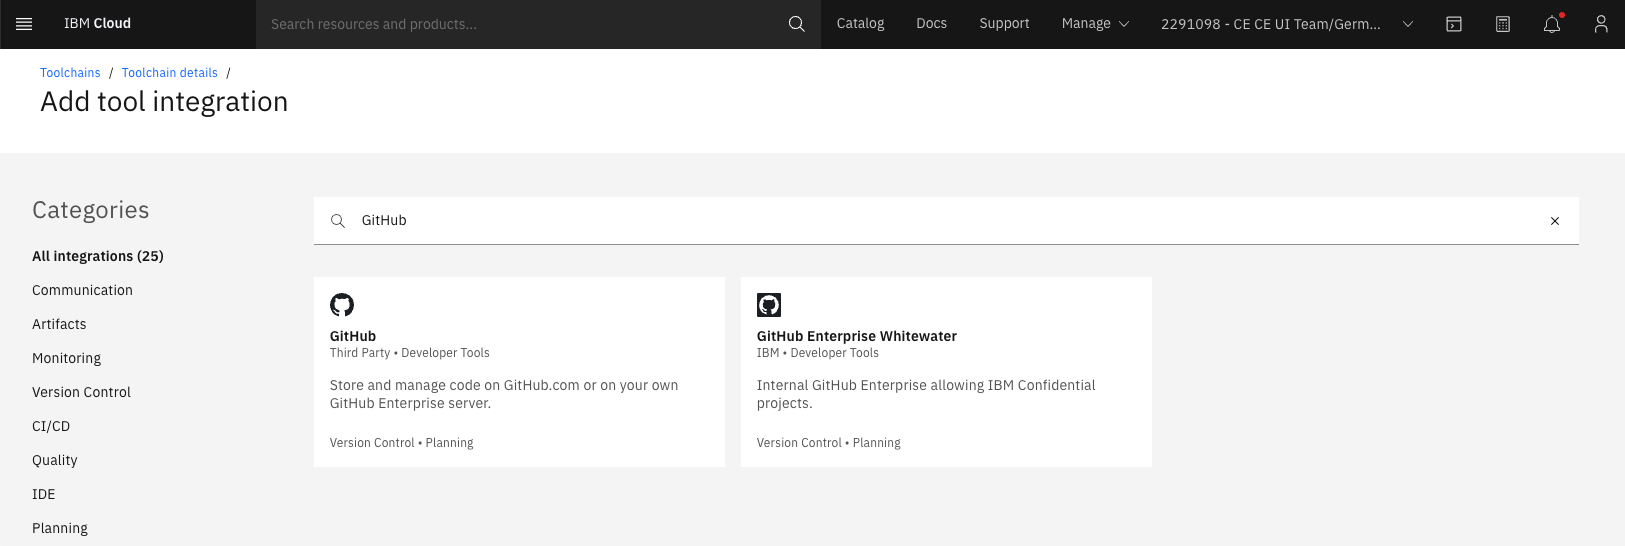
Now we need to add a tool to fetch the source code of the app. Add a new tool to this toolchain:
-
Select the GitHub tool:
-
You need to authorize IBM Cloud to talk to your github repository:
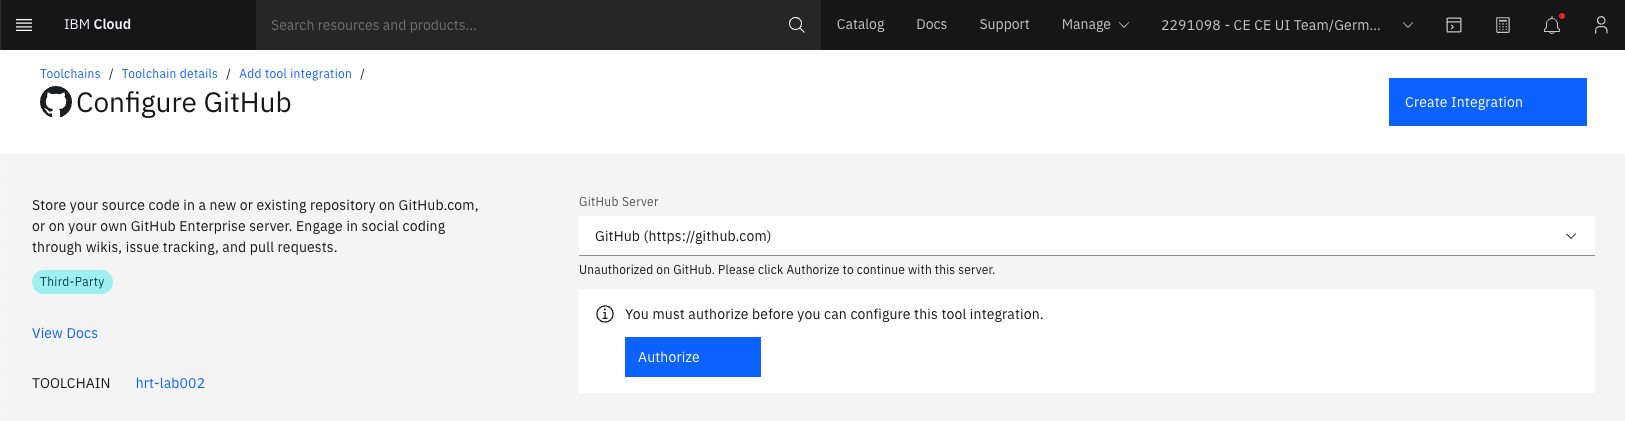
-
On the GitHub page, click Authorize IBM Cloud:
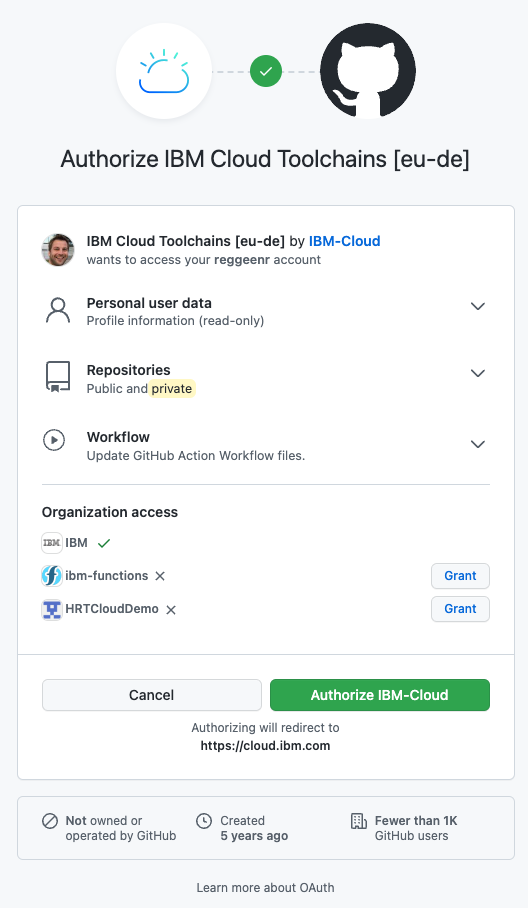
-
Select “Existing repository” and provide the URL to your app’s source code and click “Configure integration”:
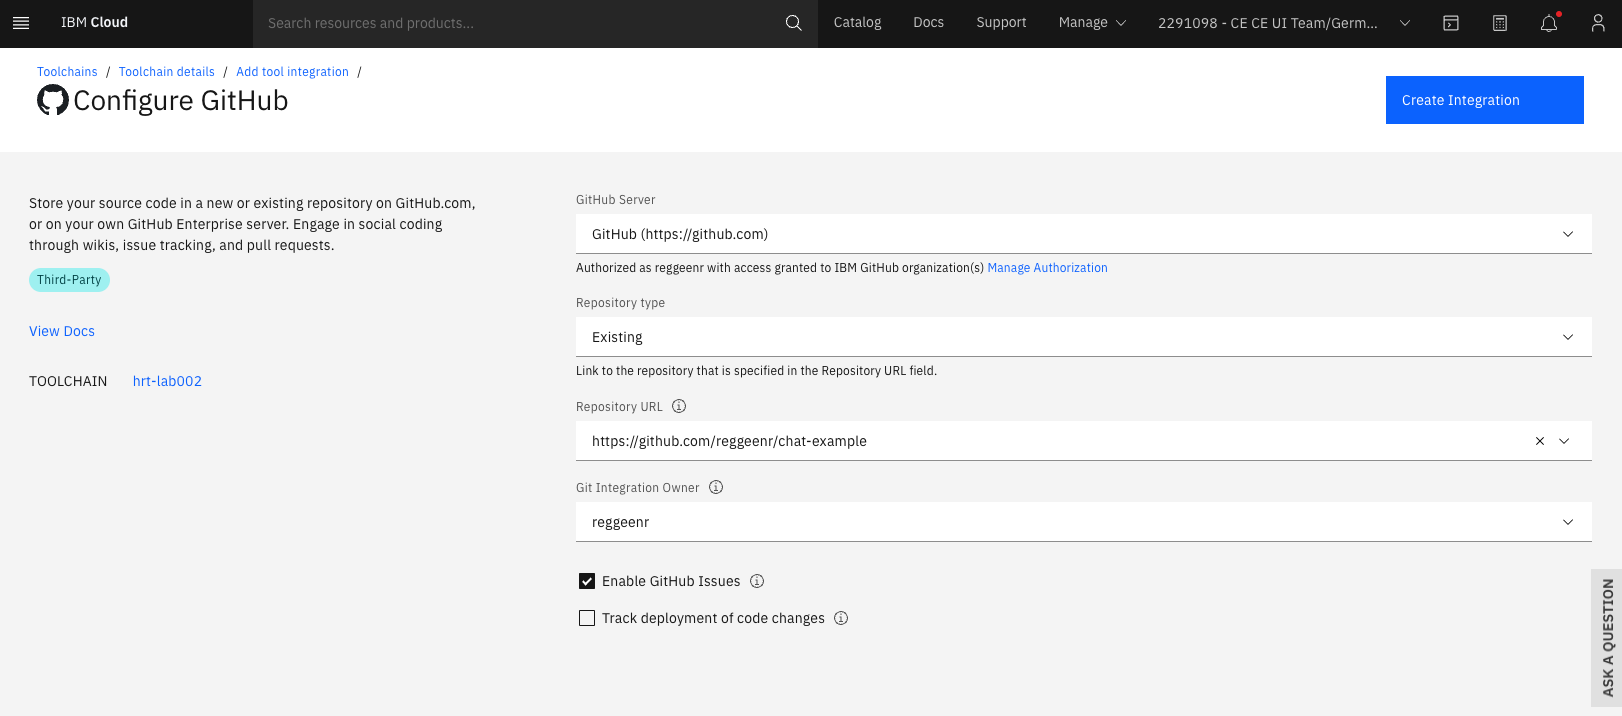
-
Now we need another tool to publish the source code. So click “Add” again:
-
Select “Delivery pipeline”:
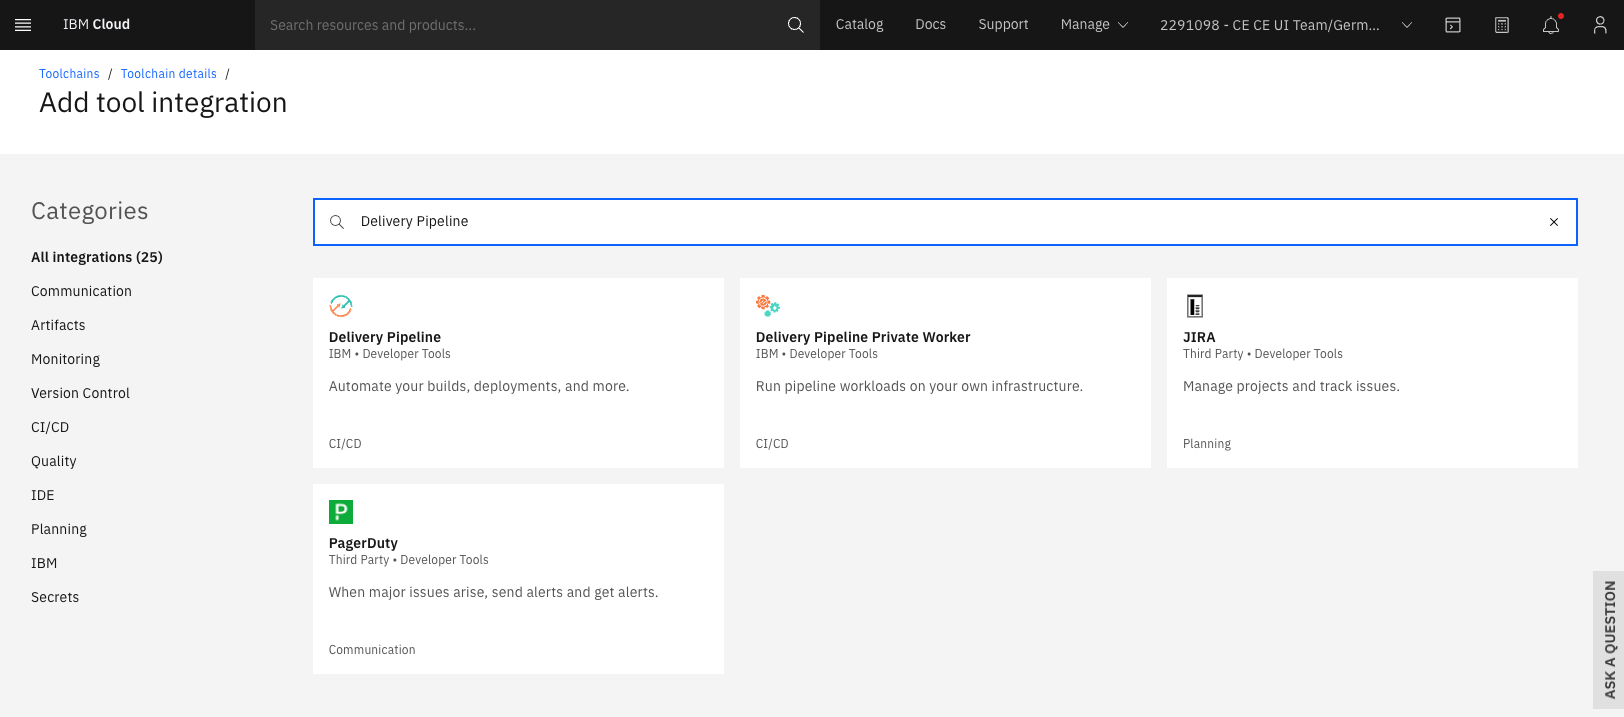
-
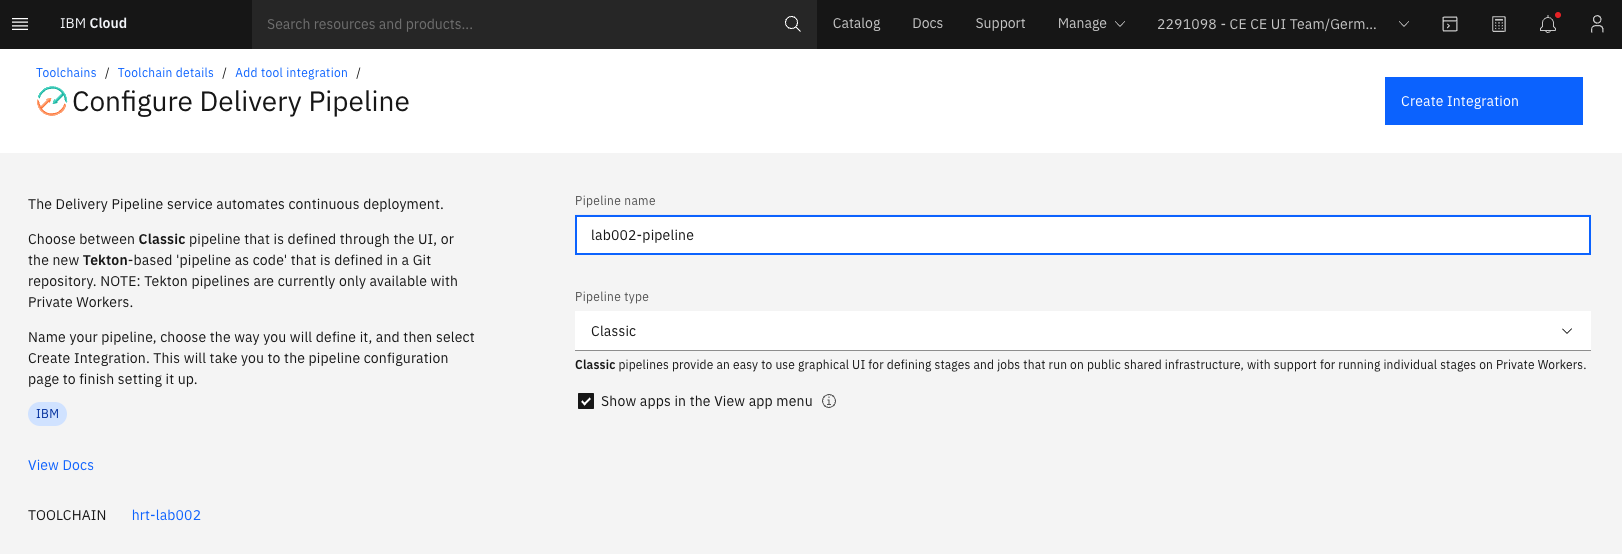
Provide a name for the new pipeline and leave the type to “Classic” and finish this step by clicking “Configure integration”:
-
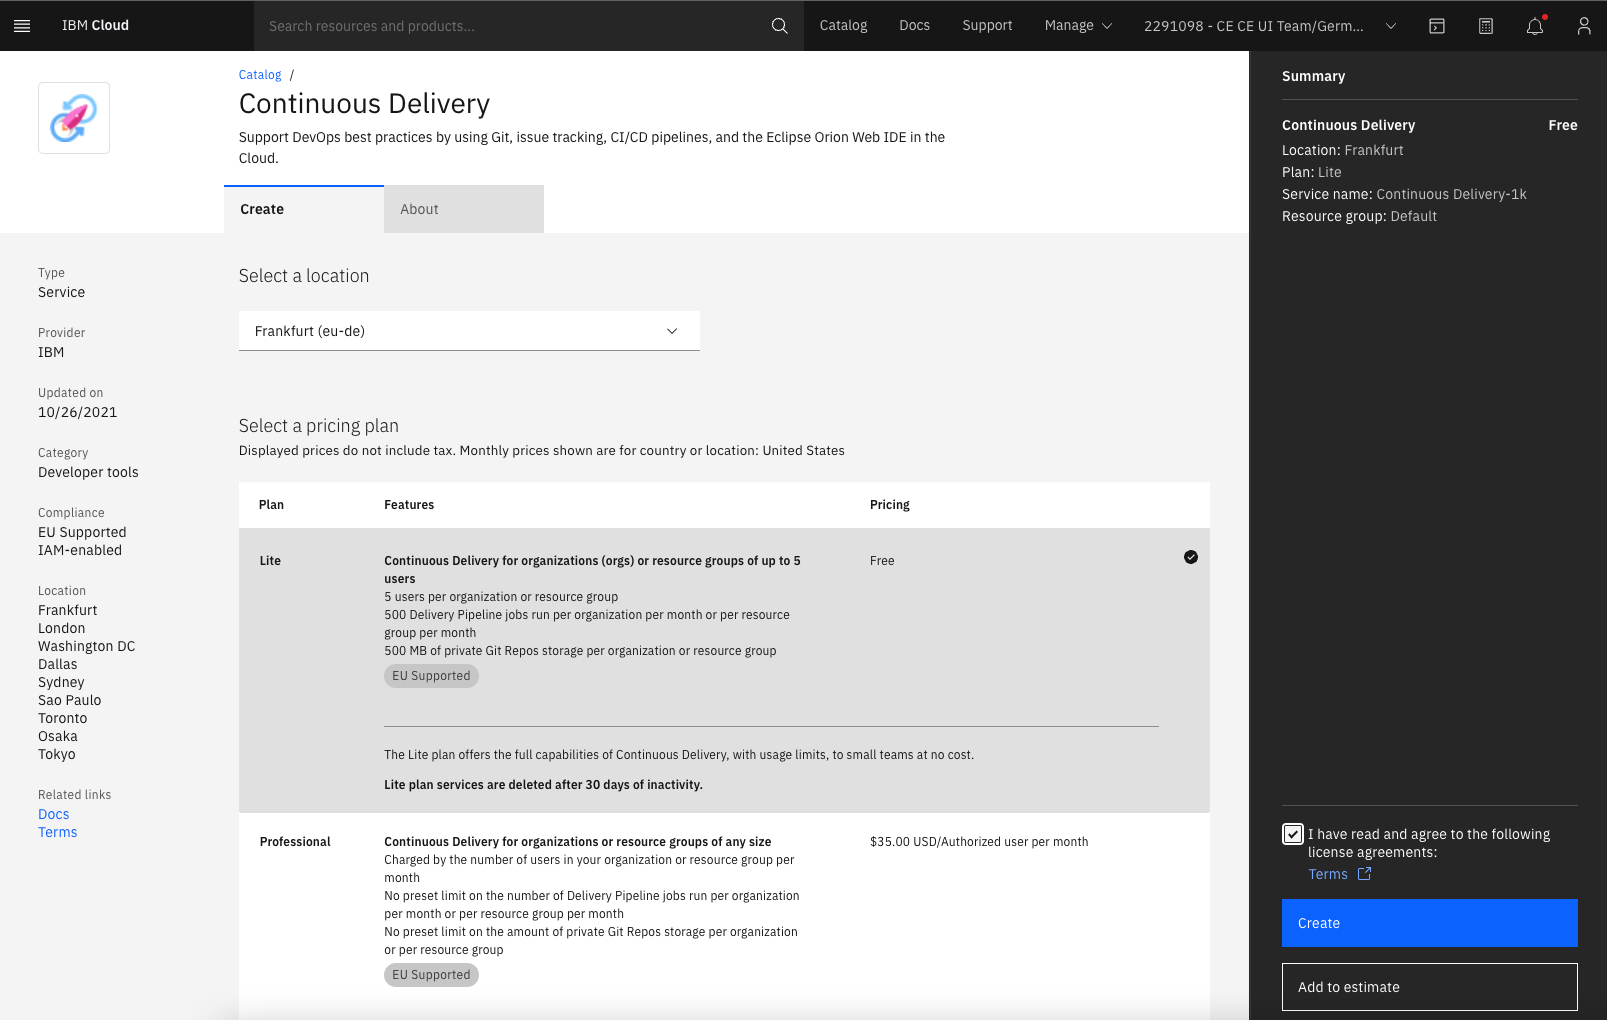
Add a Continuous Delivery service as mentioned in the warning notification by clicking the “Add the service” link:

-
Make sure you selected the region Frankfurt (eu-de) and the Lite plan, then click Create after agree to the license agreement:
-
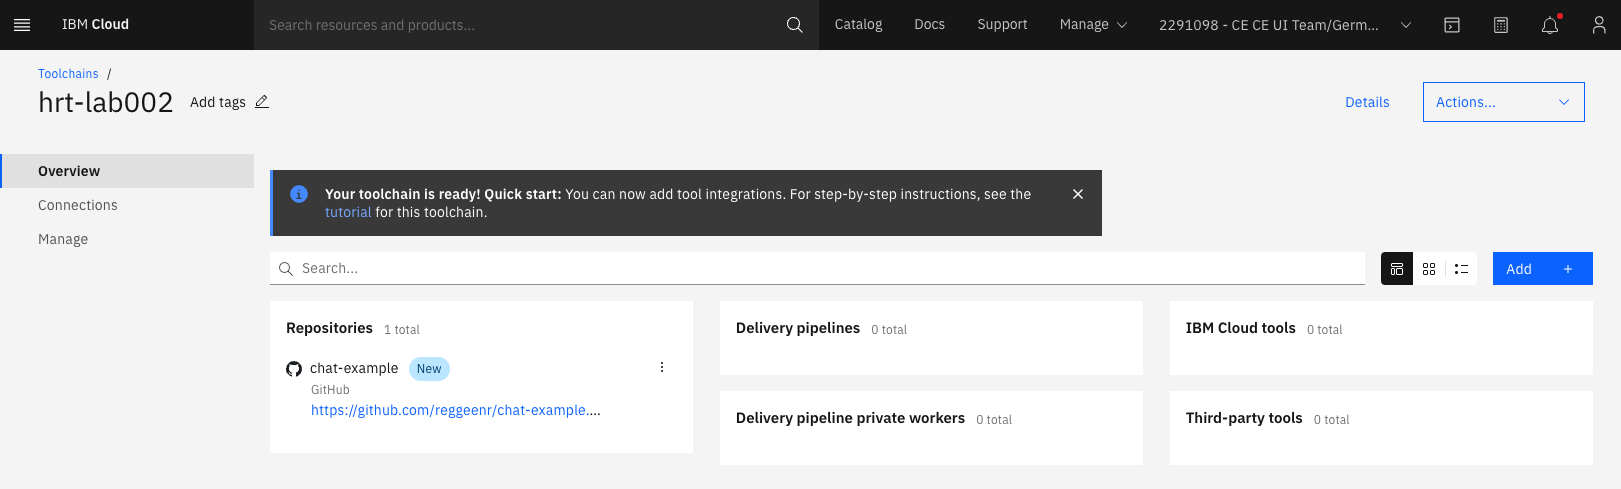
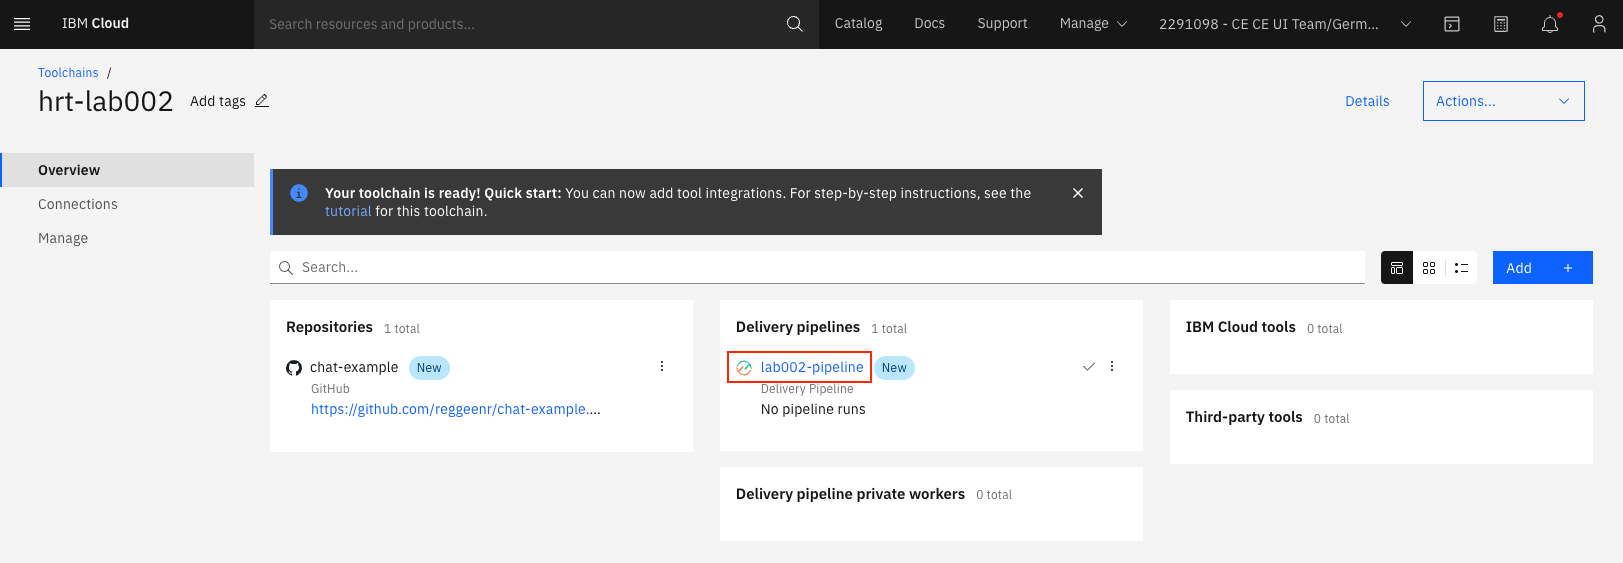
Go back to the toolchain and configure the delivery pipeline by clicking it:
-
Add a stage to it:

-
Select the previously configured GitHub source as input of this step:
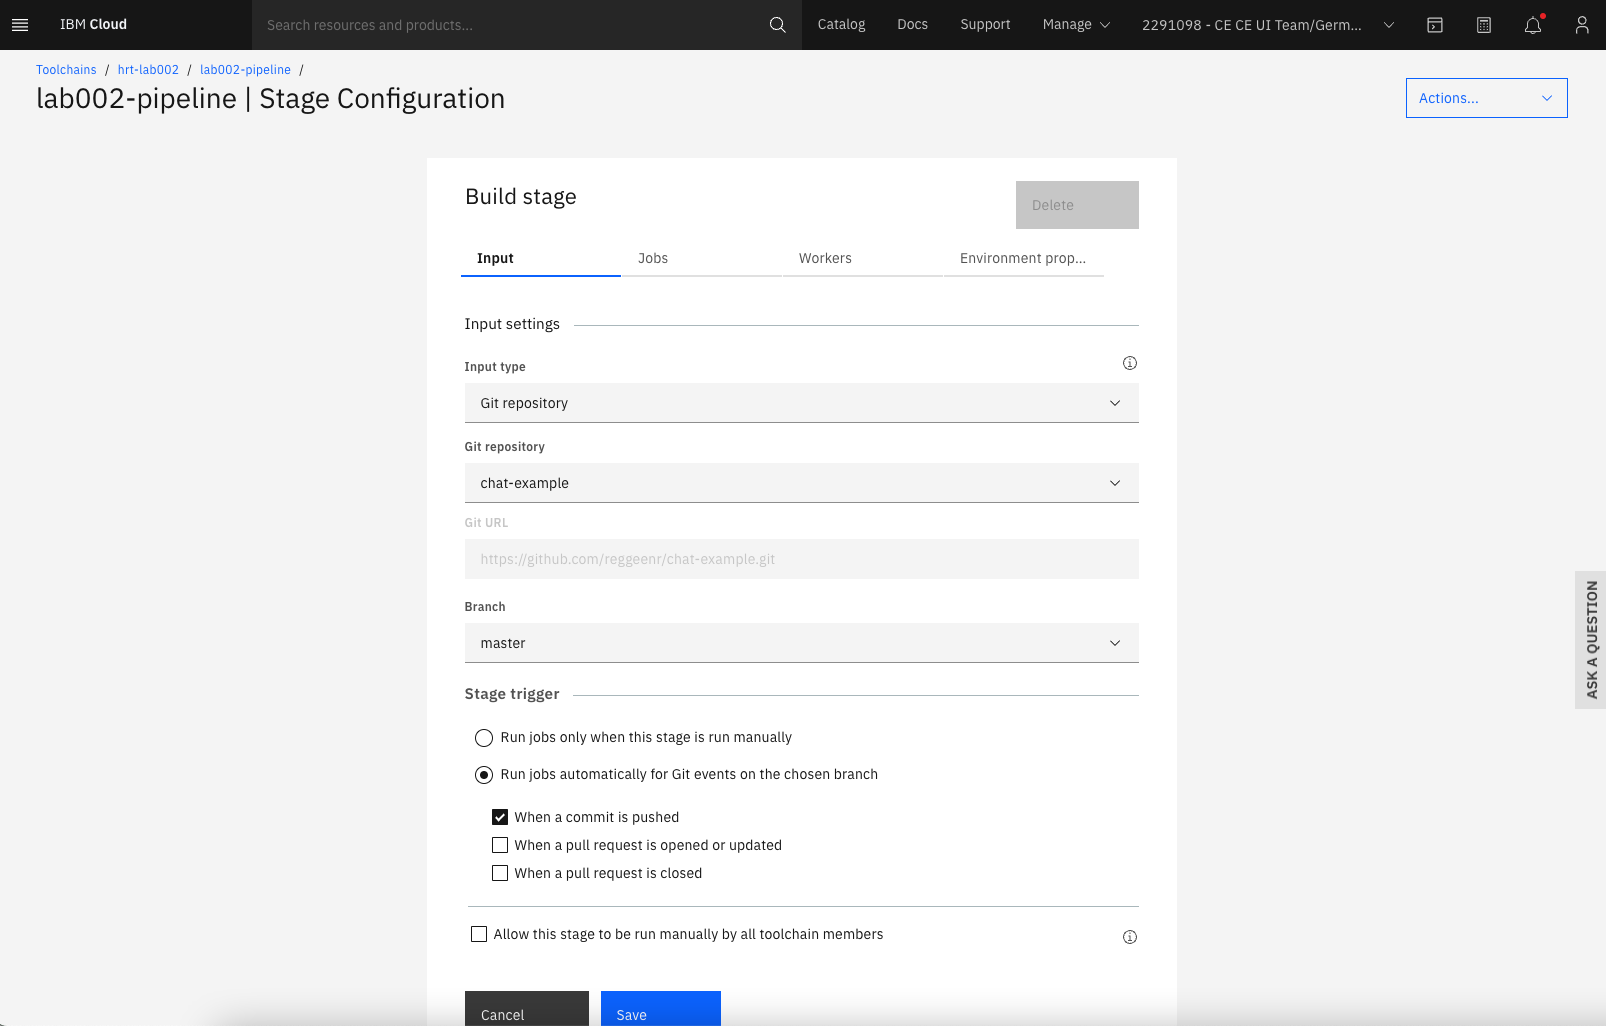
-
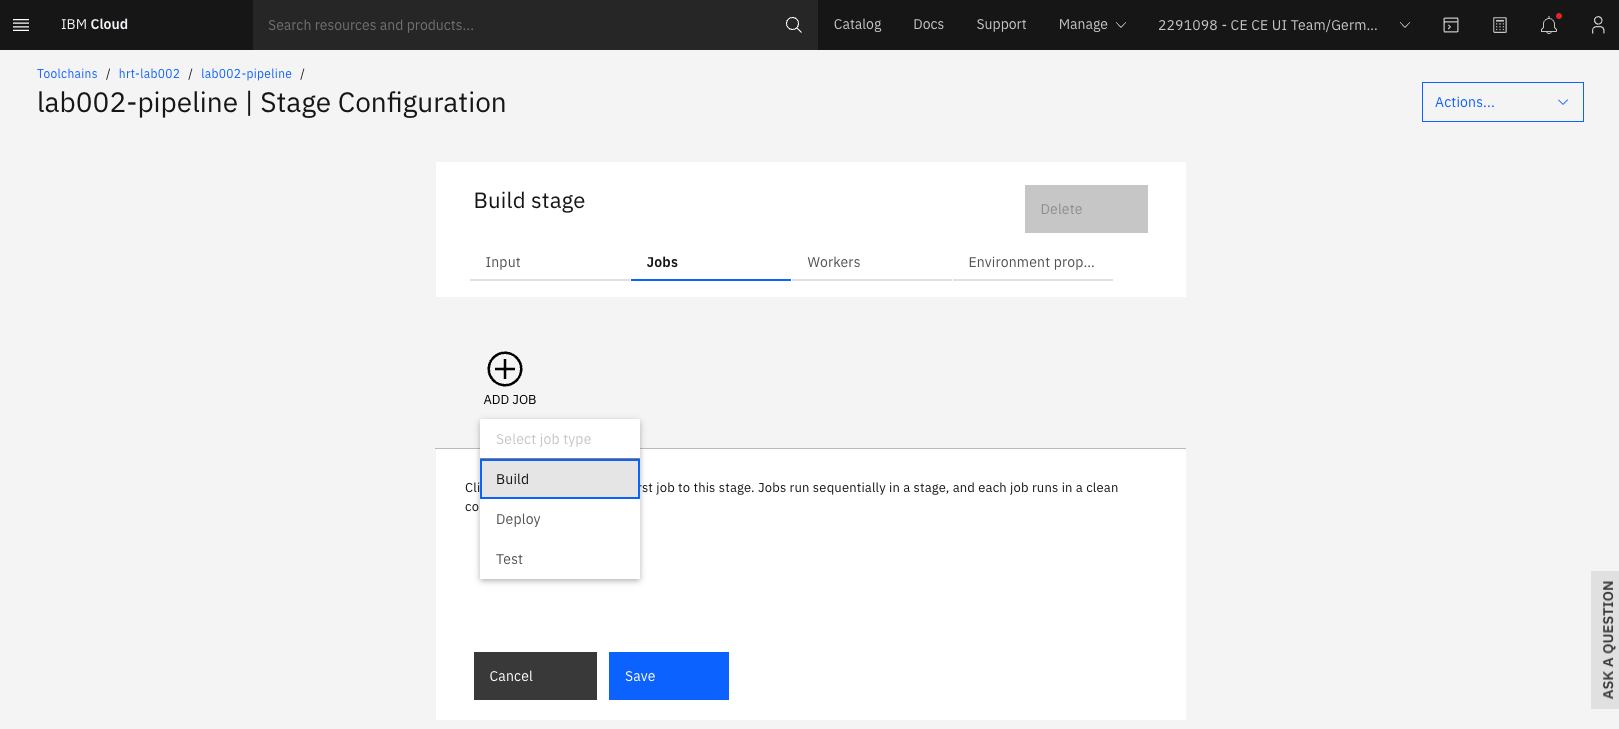
In the “Jobs” tab if this stage, add a new job:

-
We want to build our source code, so please select “Build”:
-
As “Builder Type” you’ll select “Container Registry”. Furthermore, you will need to generate a new ‘API key’ by clicking into the corresponding input field. To generate one, you just need to provide a appropriate name and click “New” in the modal that pops up. Once the API key is setup, select “Frankfurt” as Cloud region and the namespace name that you created earlier in this lab.
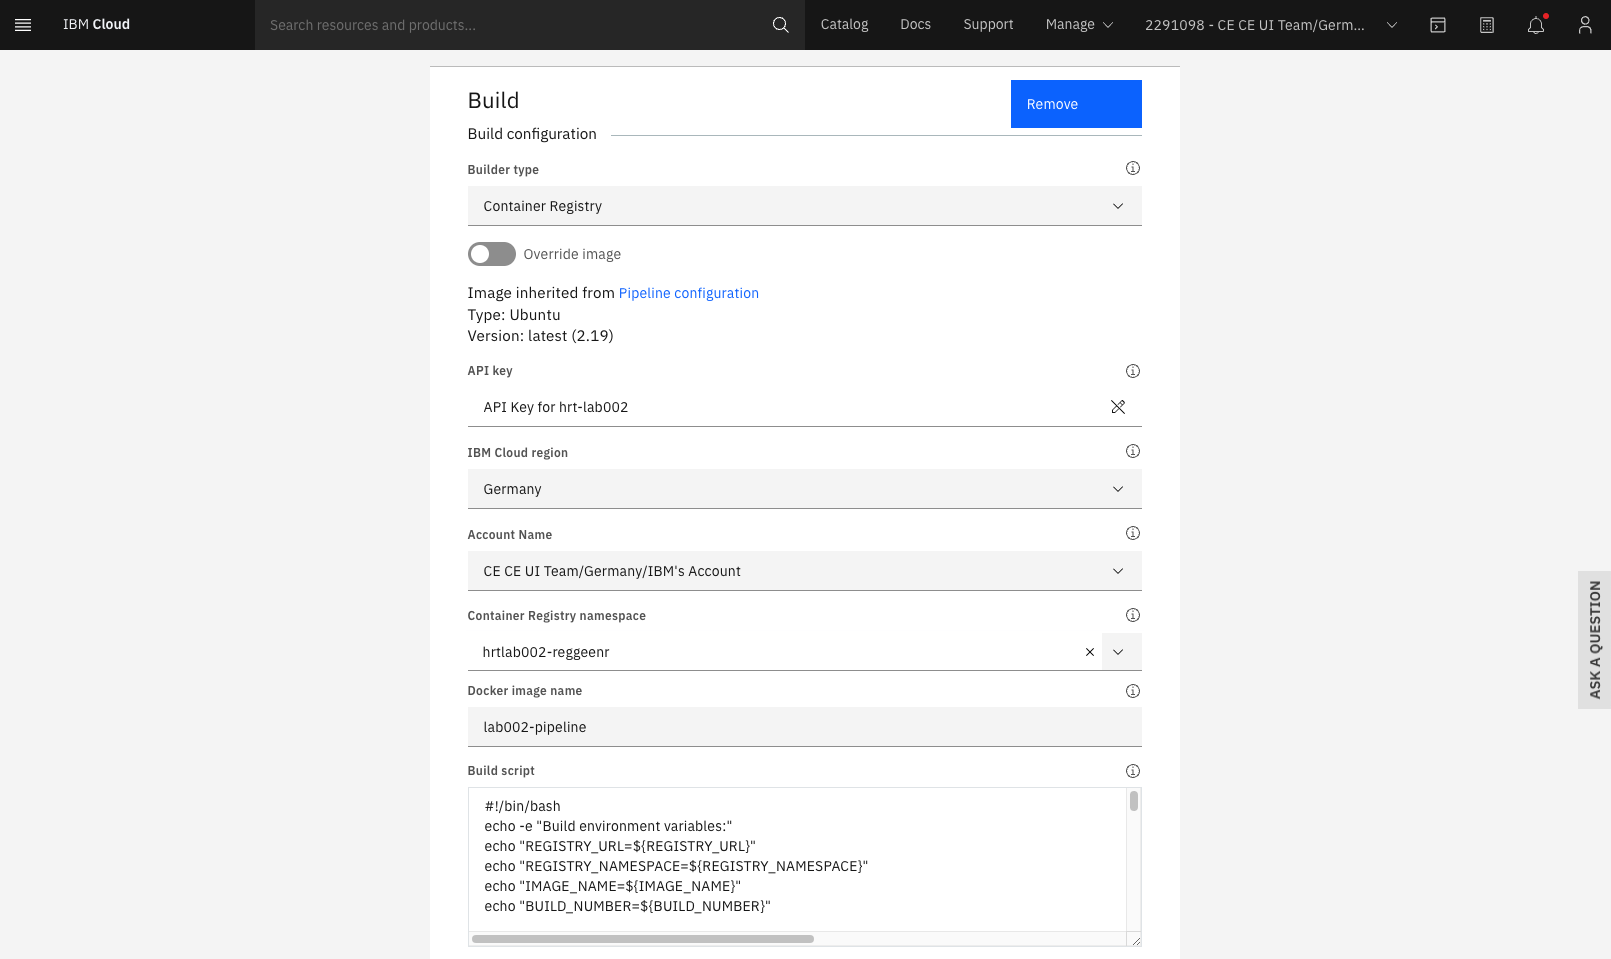
-
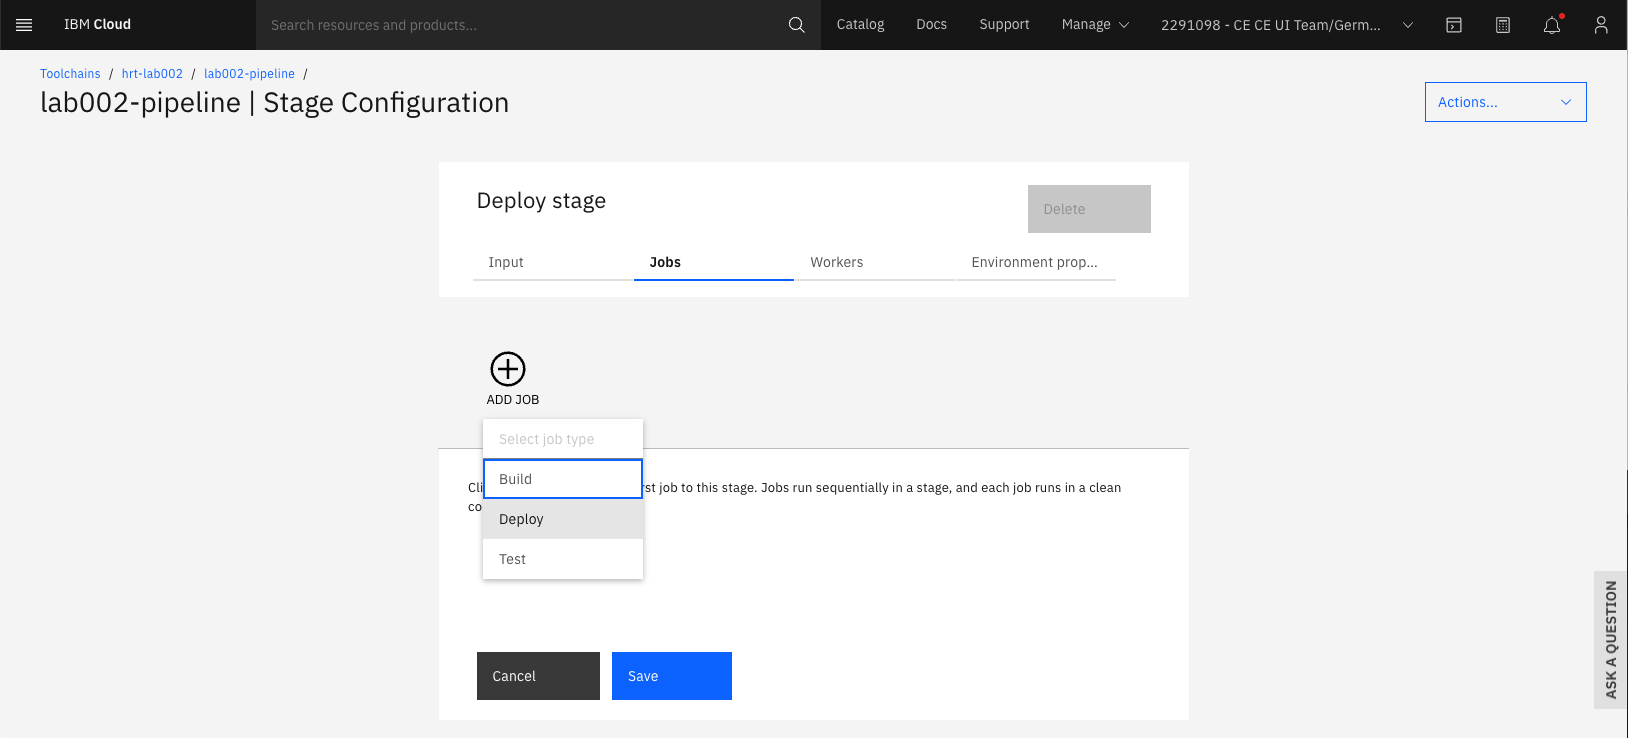
Save the changes. And add another stage by clicking “Add Stage” again. Note: Make sure that this stage receives the output of the Build stage as inputs by selecting proper values:

-
Next add a Job to this stage. We want to deploy our source code, so please select “Deploy”:
-
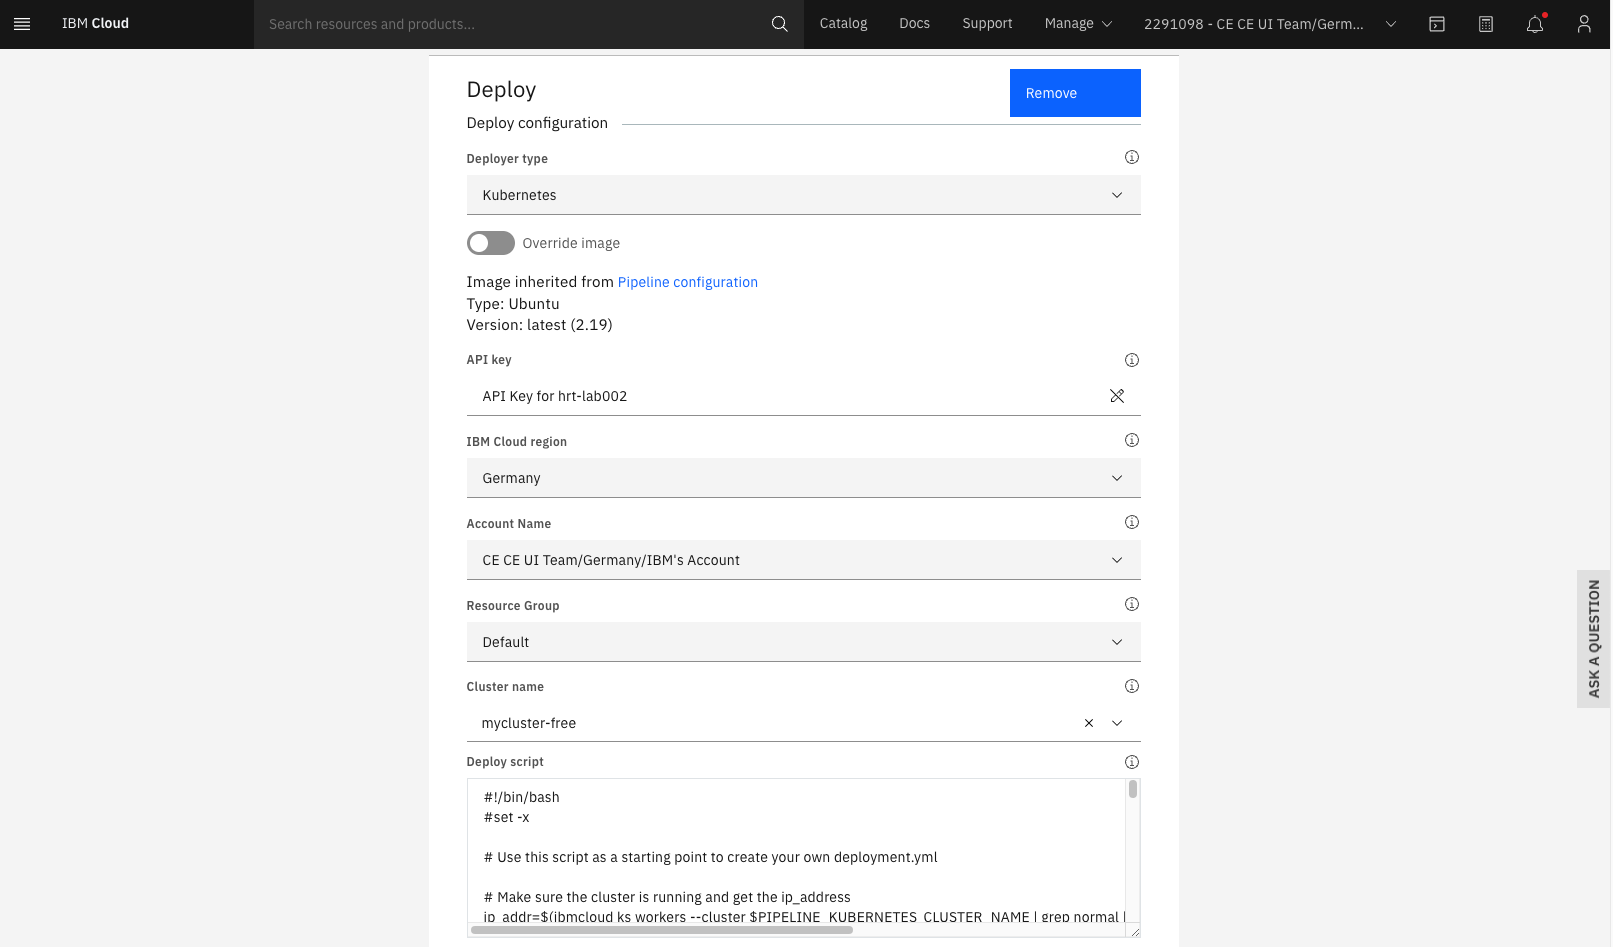
As “Deployer Type” you’ll select “Kubernetes”. Furthermore, you will need to generate a new ‘API key’ by clicking into the corresponding input field. To generate one, you just need to provide a appropriate name and click “New” in the modal that pops up. Once the API key is setup, select “Frankfurt” as Cloud region and the Kubernetes cluster that you created as part of the previous lab.
-
In order to point the deployment to the correct internal port of your application, make sure to set the default port to “3000” by updating the Deploy script

-
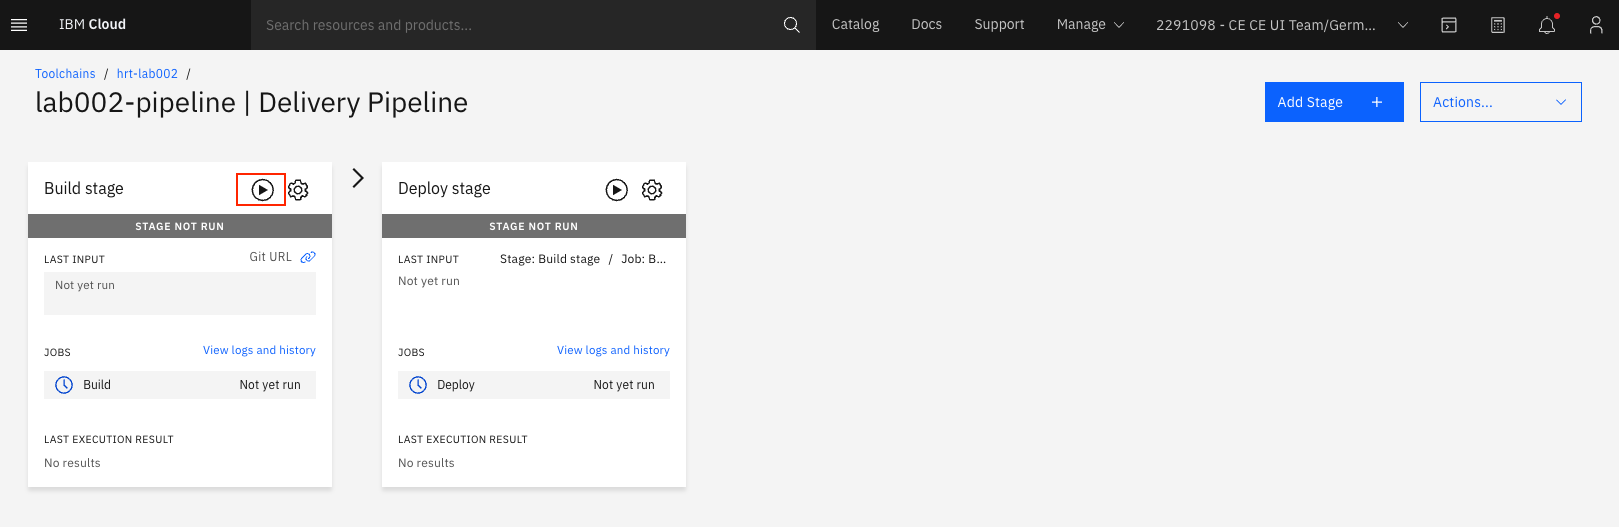
Once saved, the stage will run whenever a new commit has arrived at the GitHub repository. As a one-off, you can trigger a deploy manually:
-
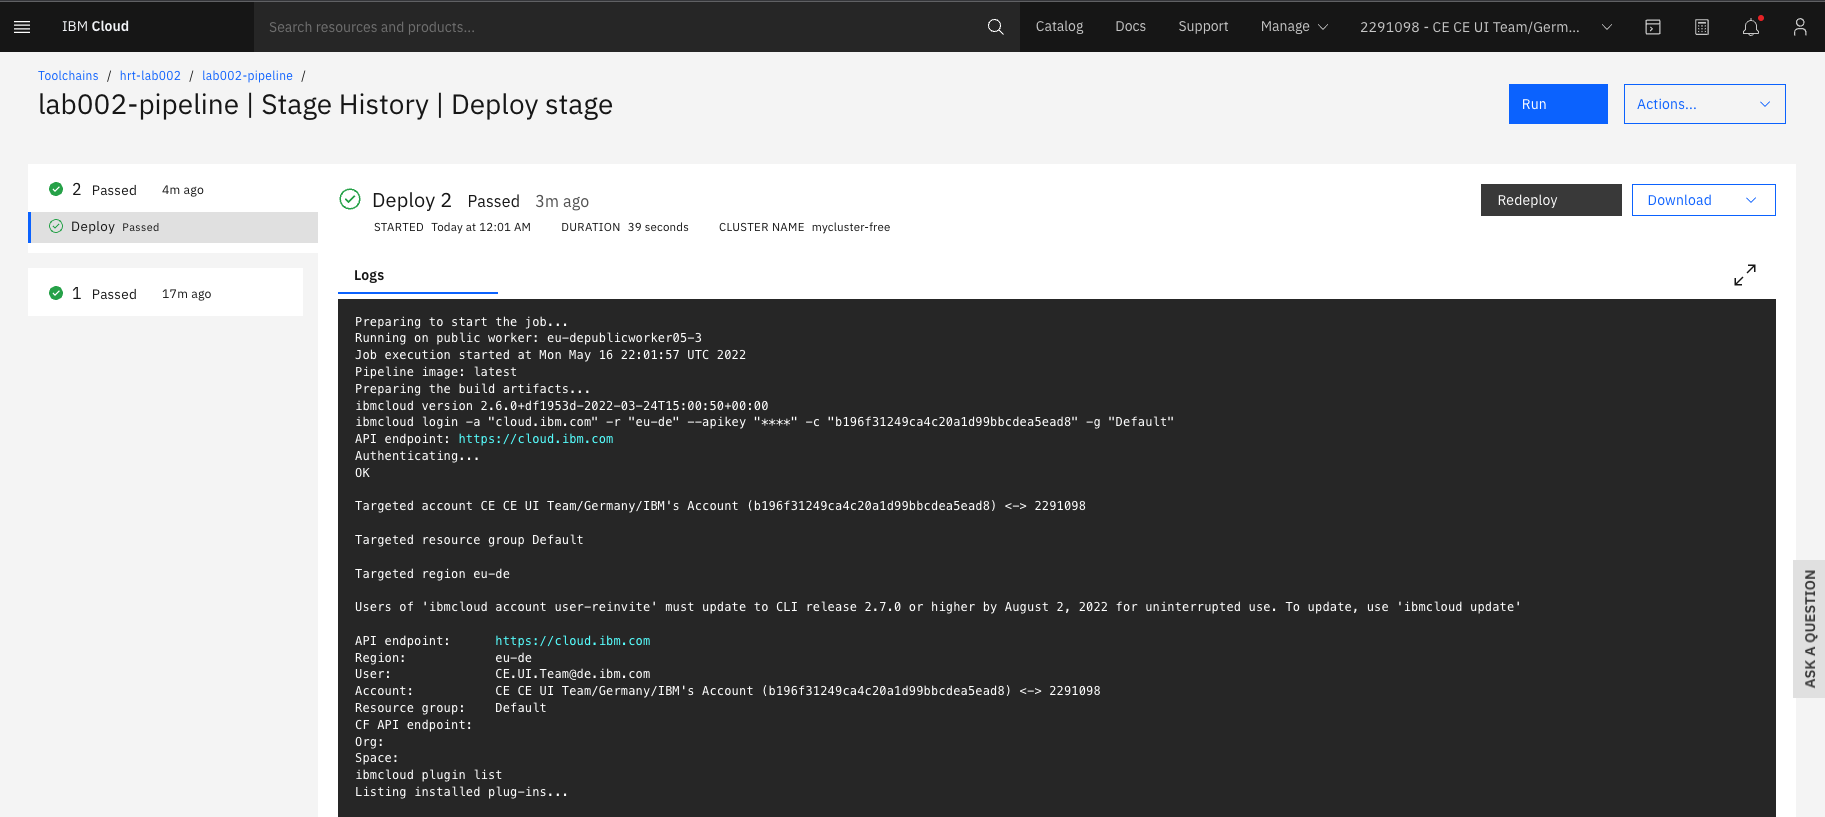
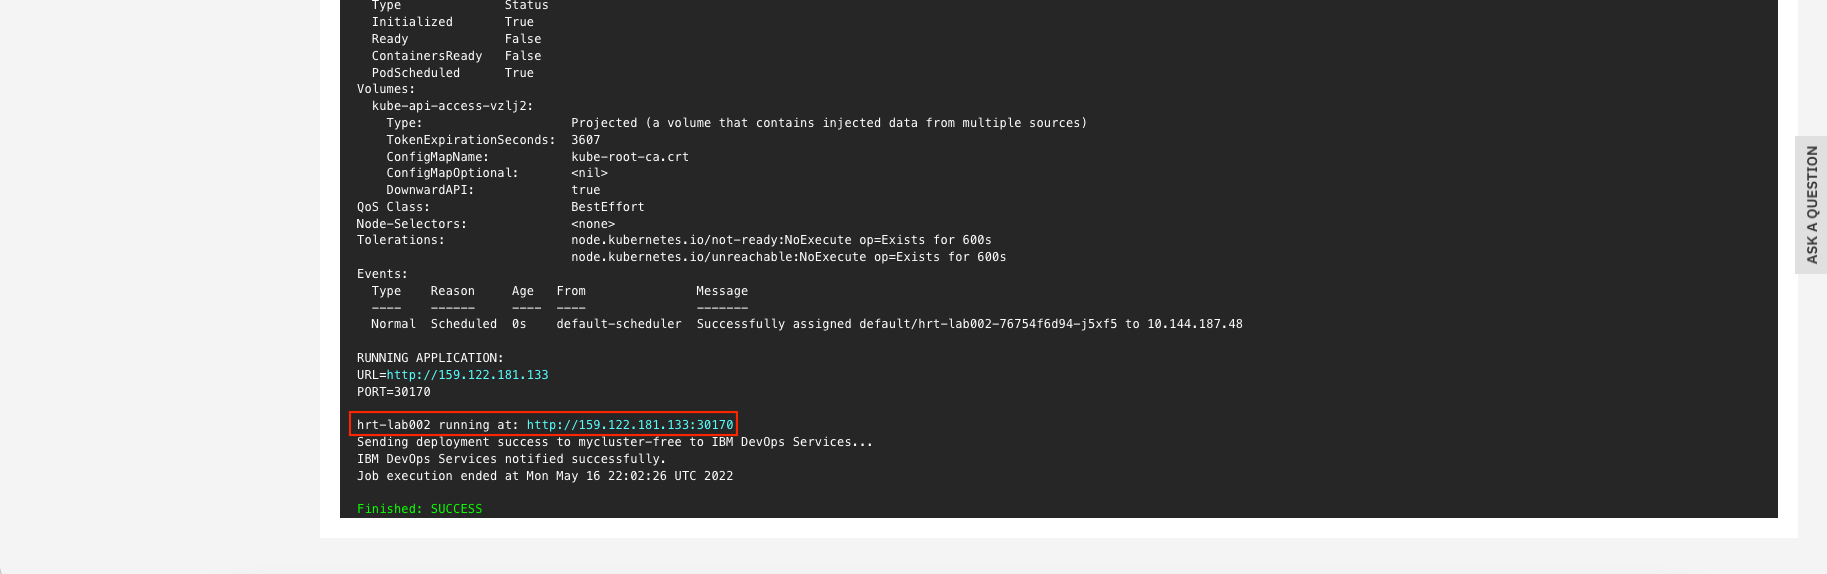
After the deploy finished successfully, you can find the URL of the deployed app in the logs of the deploy stage:
-
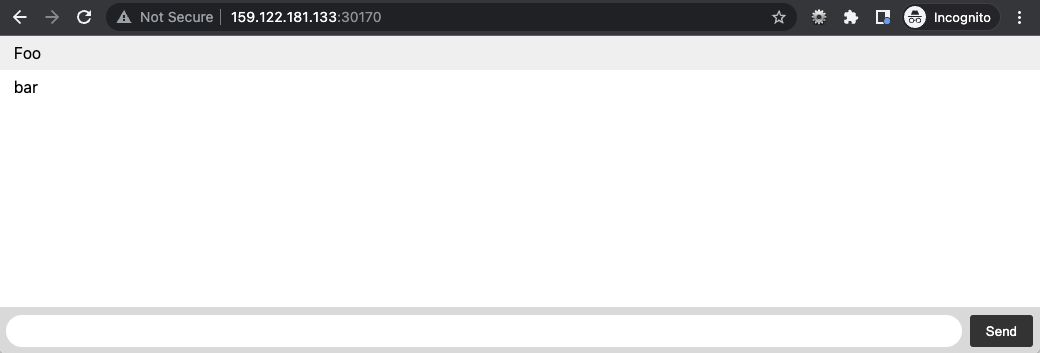
Open your browser and check whether your app is working fine
Harden the deployment by updating the deploy stage of your pipeline
Now that you have a working pipeline, every commit to the git repository will deploy the changes immediately. Every person in the team can make changes separately, and the pipeline will publish an updated version of your app whenever you git push. Therefore you should create small commits and push often.
The default setup uses the most simpliest kubernetes deployment… and works just fine. However, for real production workload you’ll want to harden it a bit more:
- The deployed chat-app should at least run 2 pods
- Define proper CPU and memory values
- For updates chose a deployment strategy that ensures no-downtime
- Upon load it should scale up to more pods